Before starting this setup, you will need to ensure that you have a network location that you can backup your current SQL database to. This can be on the same server that your primary instance, but needs to be shared out and obviously accessible. In terms of a file structure, it would be a good idea to have Instance > Database names. That way it is easy to manage and you know which database goes where.
It is also assumed that you have created a share on the secondary SQL server, where the logs will be shipped to. This will be where your fail over data goes to. The file structure should be the same as the primary server and also shared out.
1. Make sure that your database is in 'full' or 'bulk-logged' recovery mode.
2. Click on Transaction Log Shipping, then tick Enable this as a primary database in a log shipping configuration
3. Select Backup Settings, and then select the network path location. This will be where you're database will be backed up to and should be on the same server as your primary server.
4. Click Add under 'Secondary Databases' then connect to the second SQL database.
5. Select the first option under Initialise Secondary Database
6. Click Copy Files and then select the location that you want to ship the logs over to (secondary server)
7. Click Restore Transaction Log, then select Standby Mode and tick Disconnect users in the database when restoring backups.
8. Select Settings under 'Monitor server instance', and select the secondary server. This will monitor the logs and ensure everything is going well.
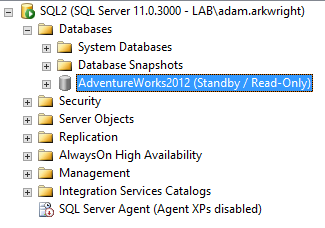
9. Log into SQL Management Studio and check the databases to ensure that the database is replicating


No comments:
Post a Comment